
Overview
In this blog post, I’d like to introduce you to Semaphore, an open-source Ansible management project. With Semaphore, you can automate and keep track of all your Ansible tasks in your homelab. Check out my current Ansible Playbooks in this GitHub repository.
Prerequisites
Before we dive into Semaphore, let’s ensure you meet the following prerequisites:
- Some prior experience with Ansible and understanding of playbook formatting.
- Ideally, some Docker experience as we’ll be using Docker-Compose for the setup.
- Something in your homelab that you want to manage!
Getting the Docker Container Setup
Setting up the Docker container for Semaphore is straightforward. You’ll need to configure two primary files.
- The first file is
docker-compose.yml, which contains all the configuration for the container. You can find the file in this repository.
| |
If you do not use Traefik for proxies, on the same host, go ahead and remove / comment out that part of the configuration).
- The second file is a
.envfile that stores the credentials required for the Docker-Compose file. Fill in your valuable super-secret credentials in this file before spinning up the container.
| |
Semaphore Configuration to Get Started
Before you can start deploying Ansible tasks with Semaphore, there are a few necessary setup steps. In this tutorial, I will demonstrate the setup using my GitHub repository.
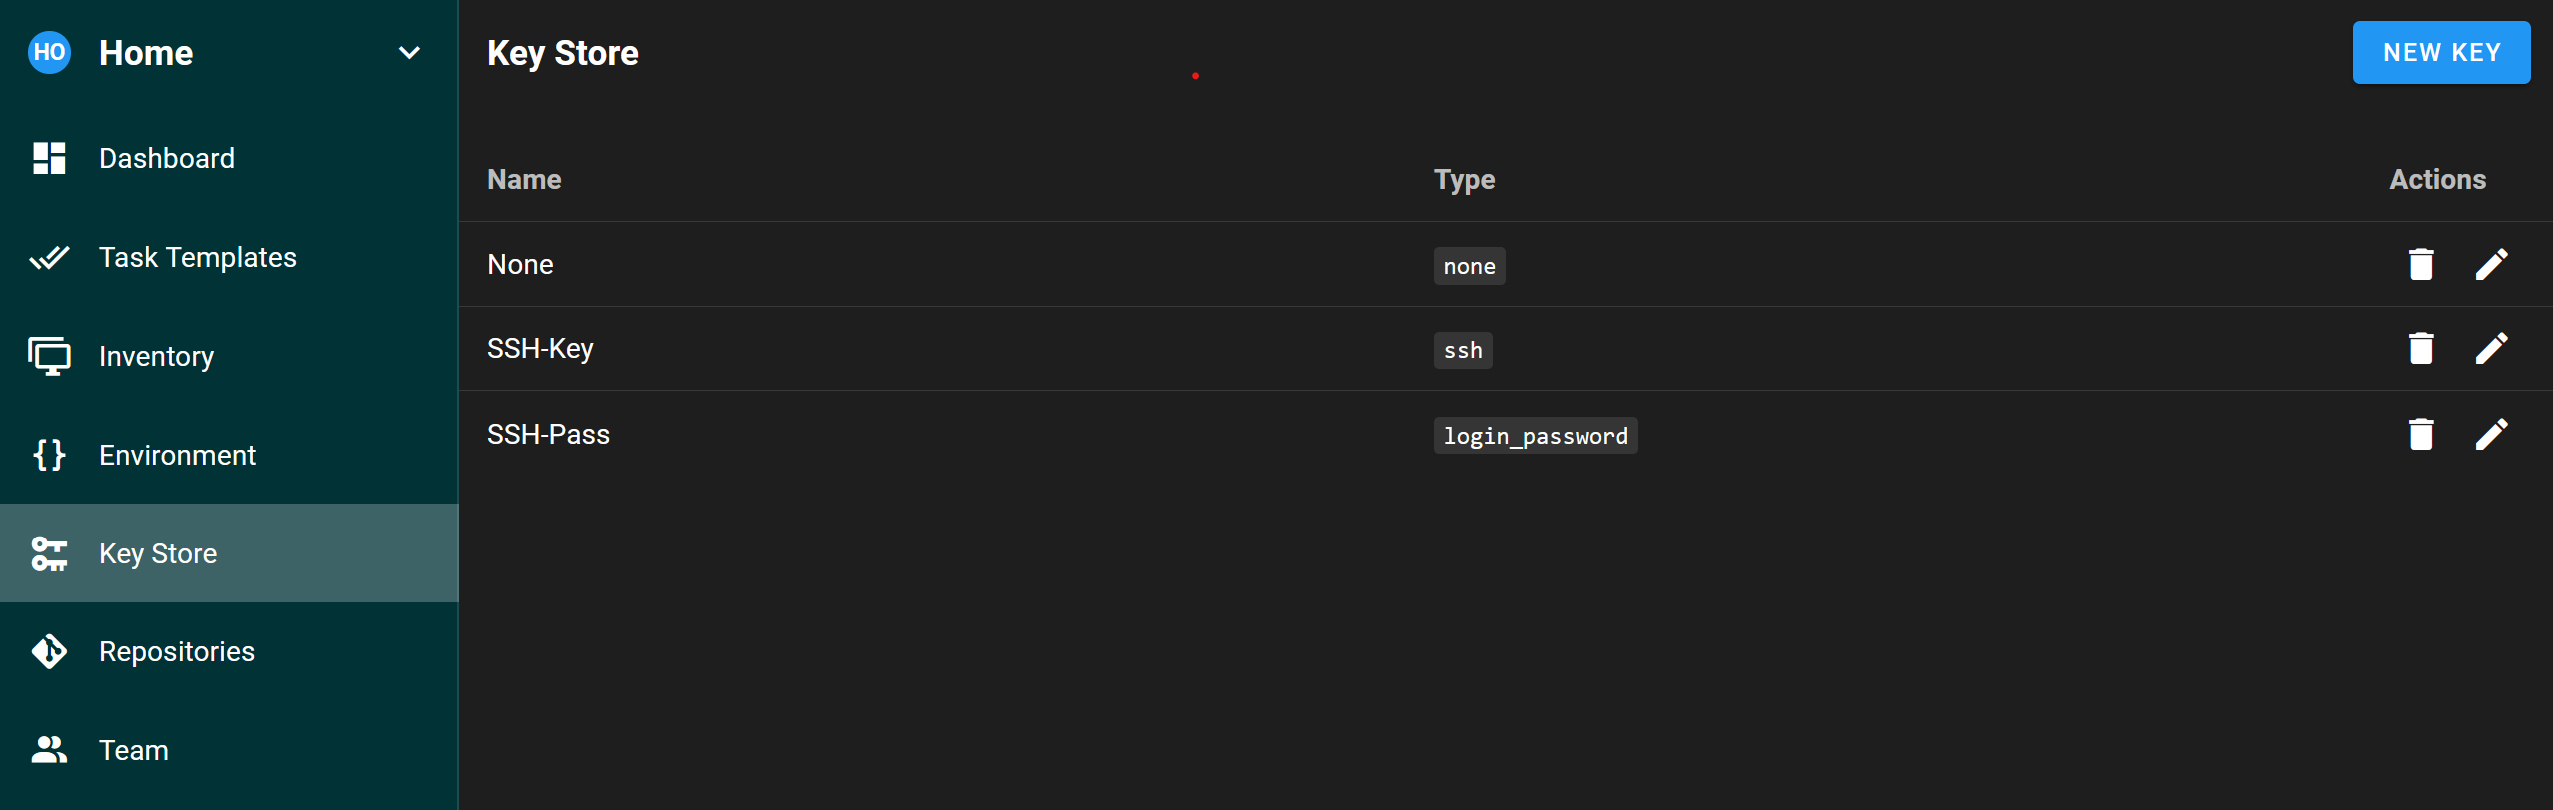
- Set up the ‘Key Store’ profiles:
- Once you’re logged into the Ansible Semaphore site, navigate to the ‘Key Store’ section.
- Create three keys:
- Key titled ‘None’ with Type ‘None’. This will be used for GitHub repository access (since it’s public).
- Key titled ‘SSH-Key’ with Type ‘SSH Key’. This will be used for Ansible to run without sudo.
- Key titled ‘SSH-Pass’ with Type ‘Login with password’. This will be used for non-sudo SSH Ansible tasks.
- Key titled ‘SSH-Pass-Sudo’ with Type ‘Login with Password’. This will be used for sudo-required Ansible SSH tasks.
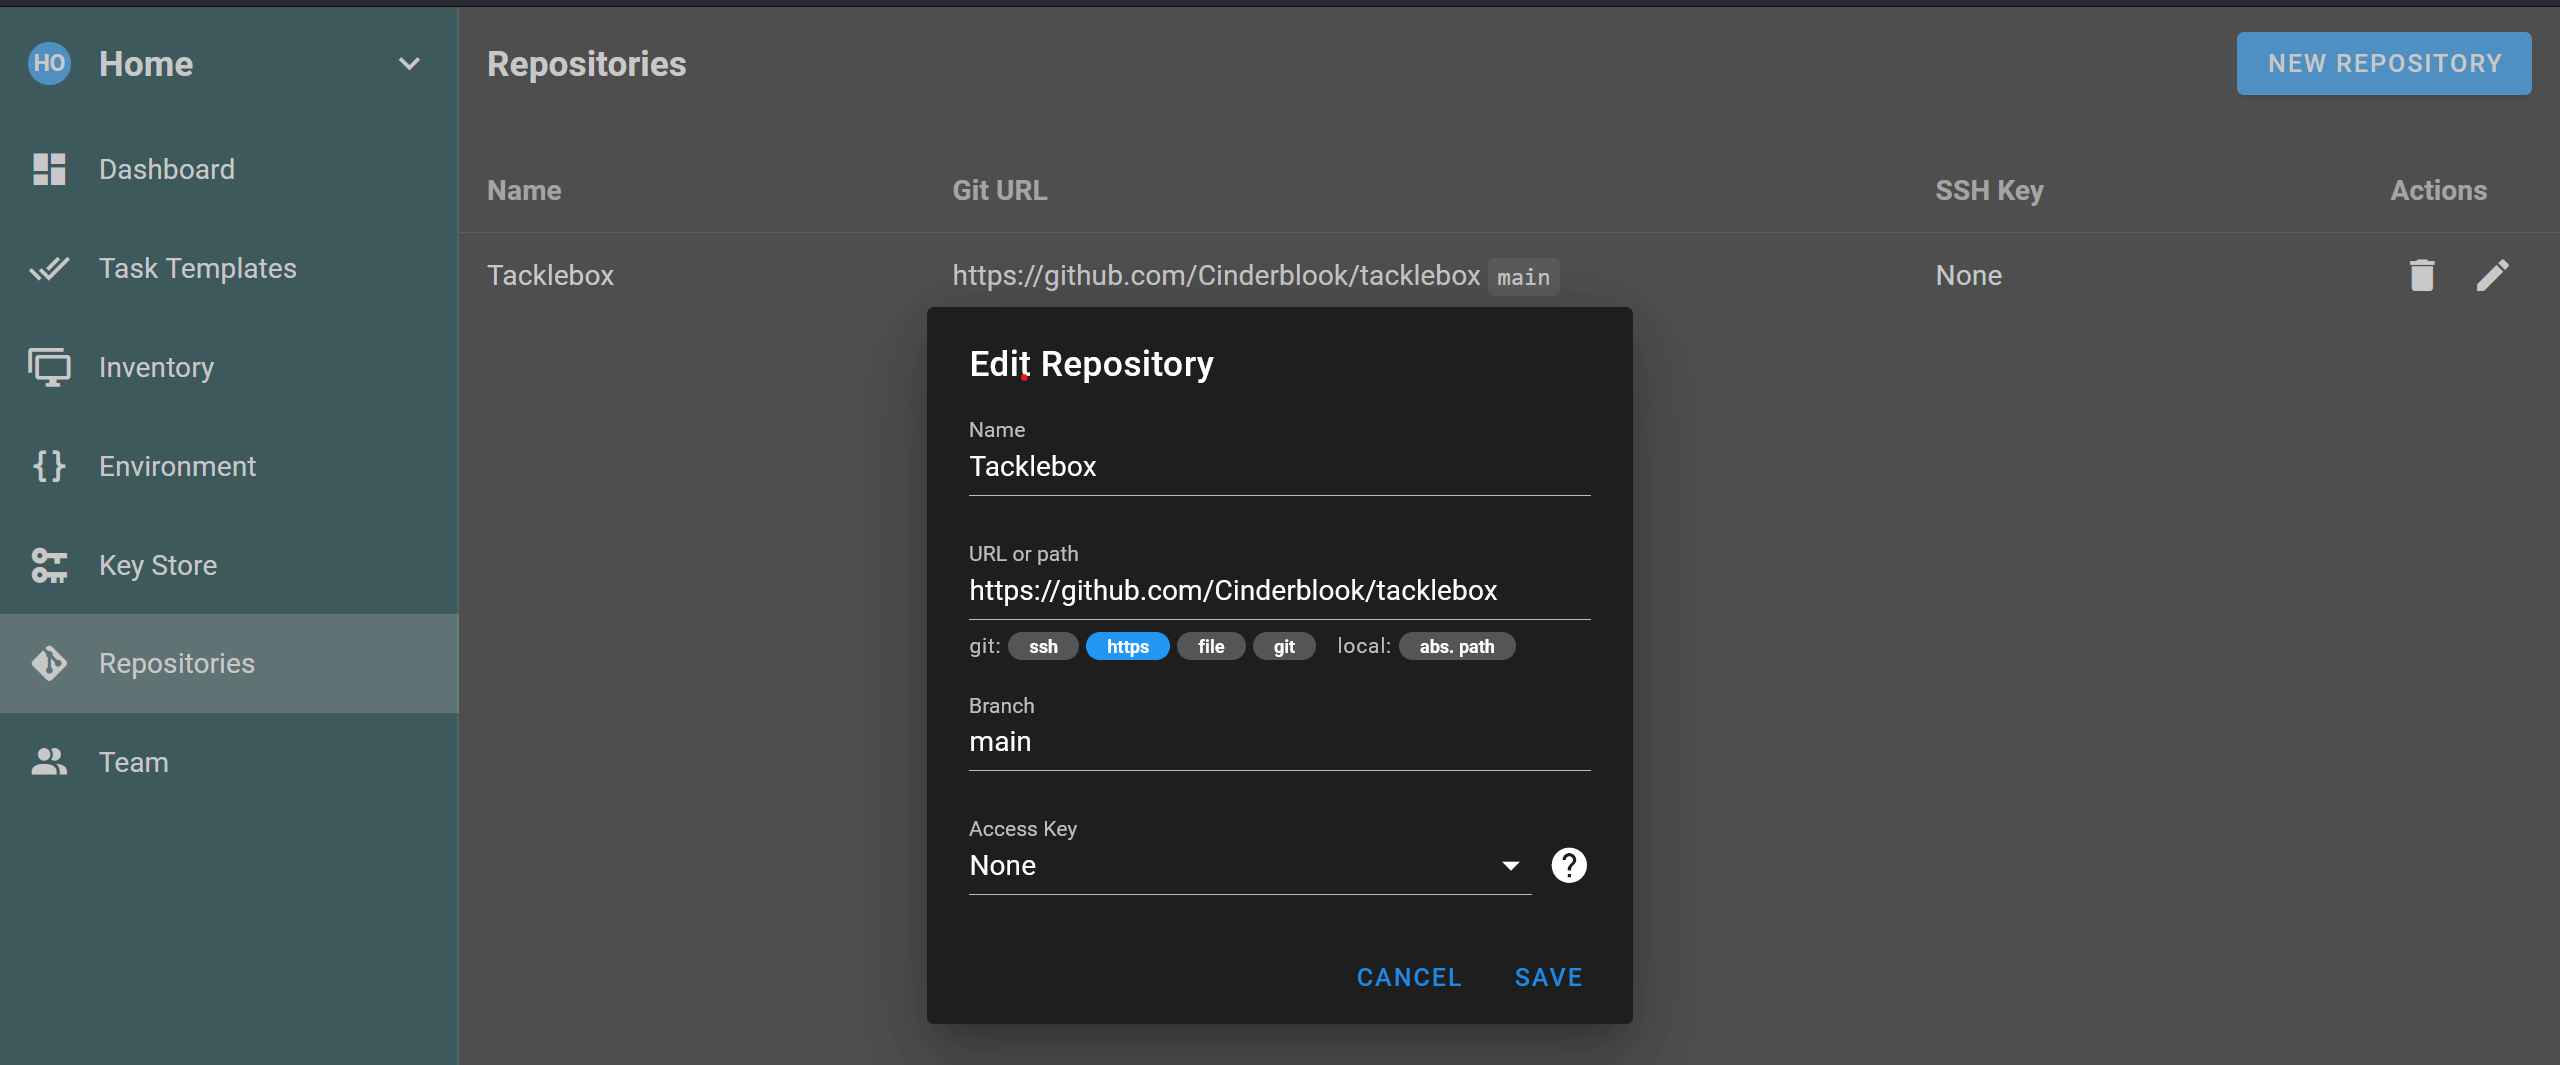
- Set up the GitHub repository:
- Use the URL of the repository.
- Set the branch name (e.g., ‘main’).
- If it’s a public repository, set ‘Access Key’ to None. If it’s an SSH private connection, create a key under ‘Key Store’ for that key and select it here.
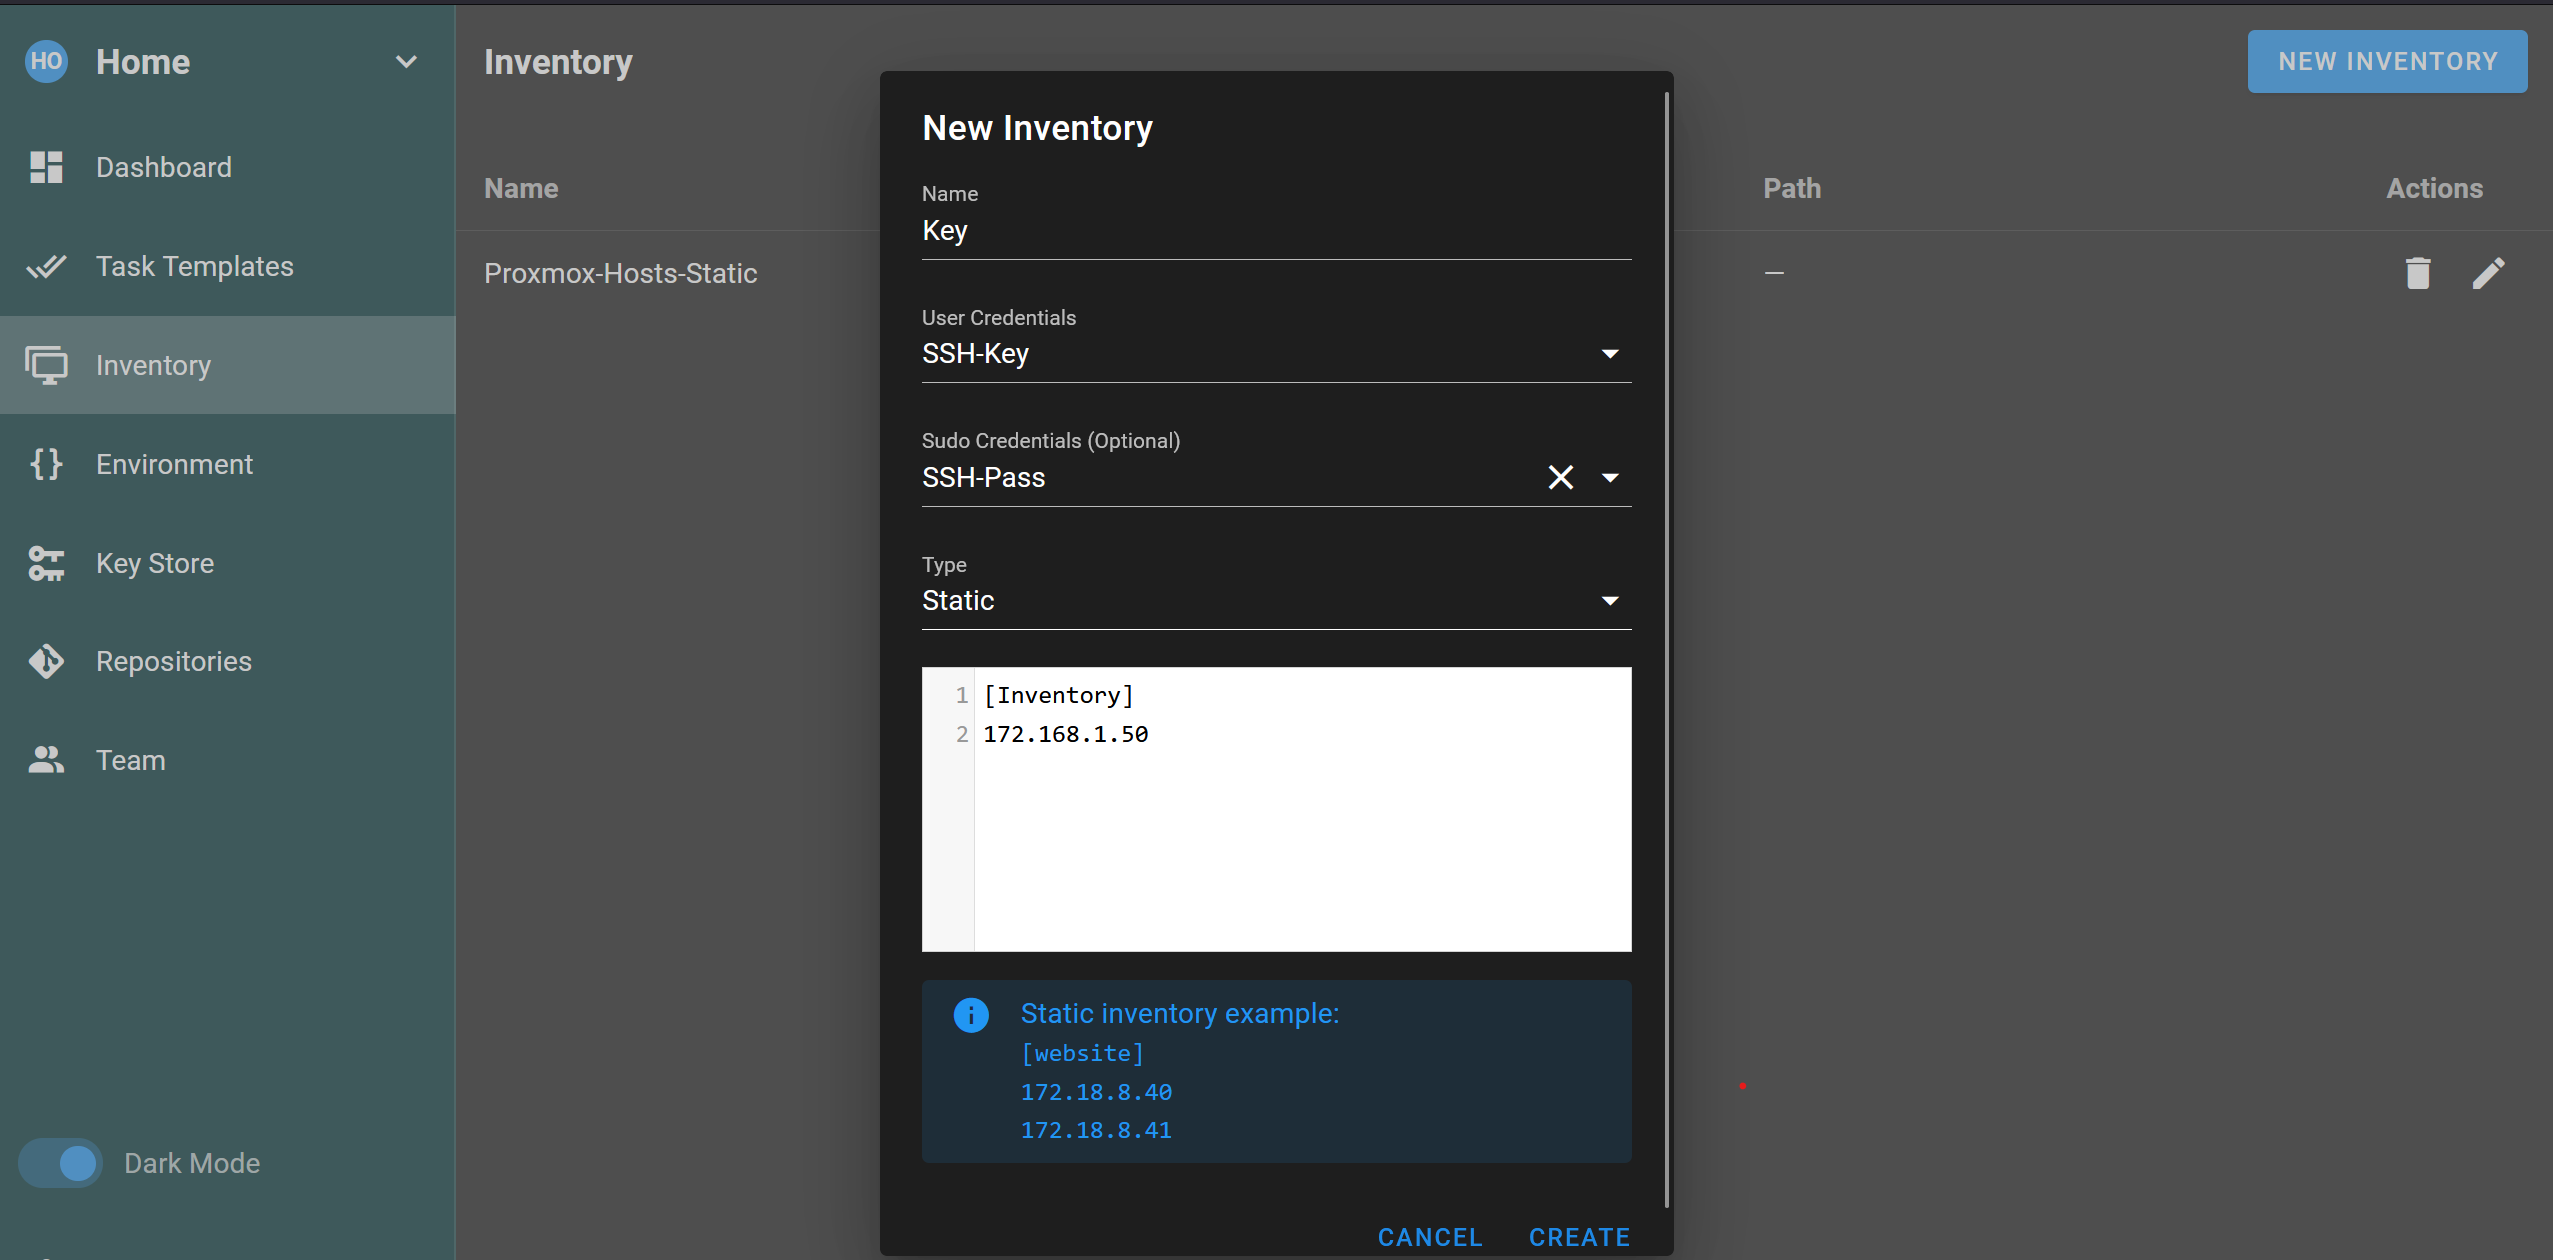
- Configure the inventory:
- Under ‘Inventory’, create a ‘New Inventory’.
- Provide a name and set the credentials to be used for non-sudo and sudo tasks (created earlier).
- For the Type, select File if you have a local file containing the inventory, or use Static if you want to manage the inventory within Semaphore.
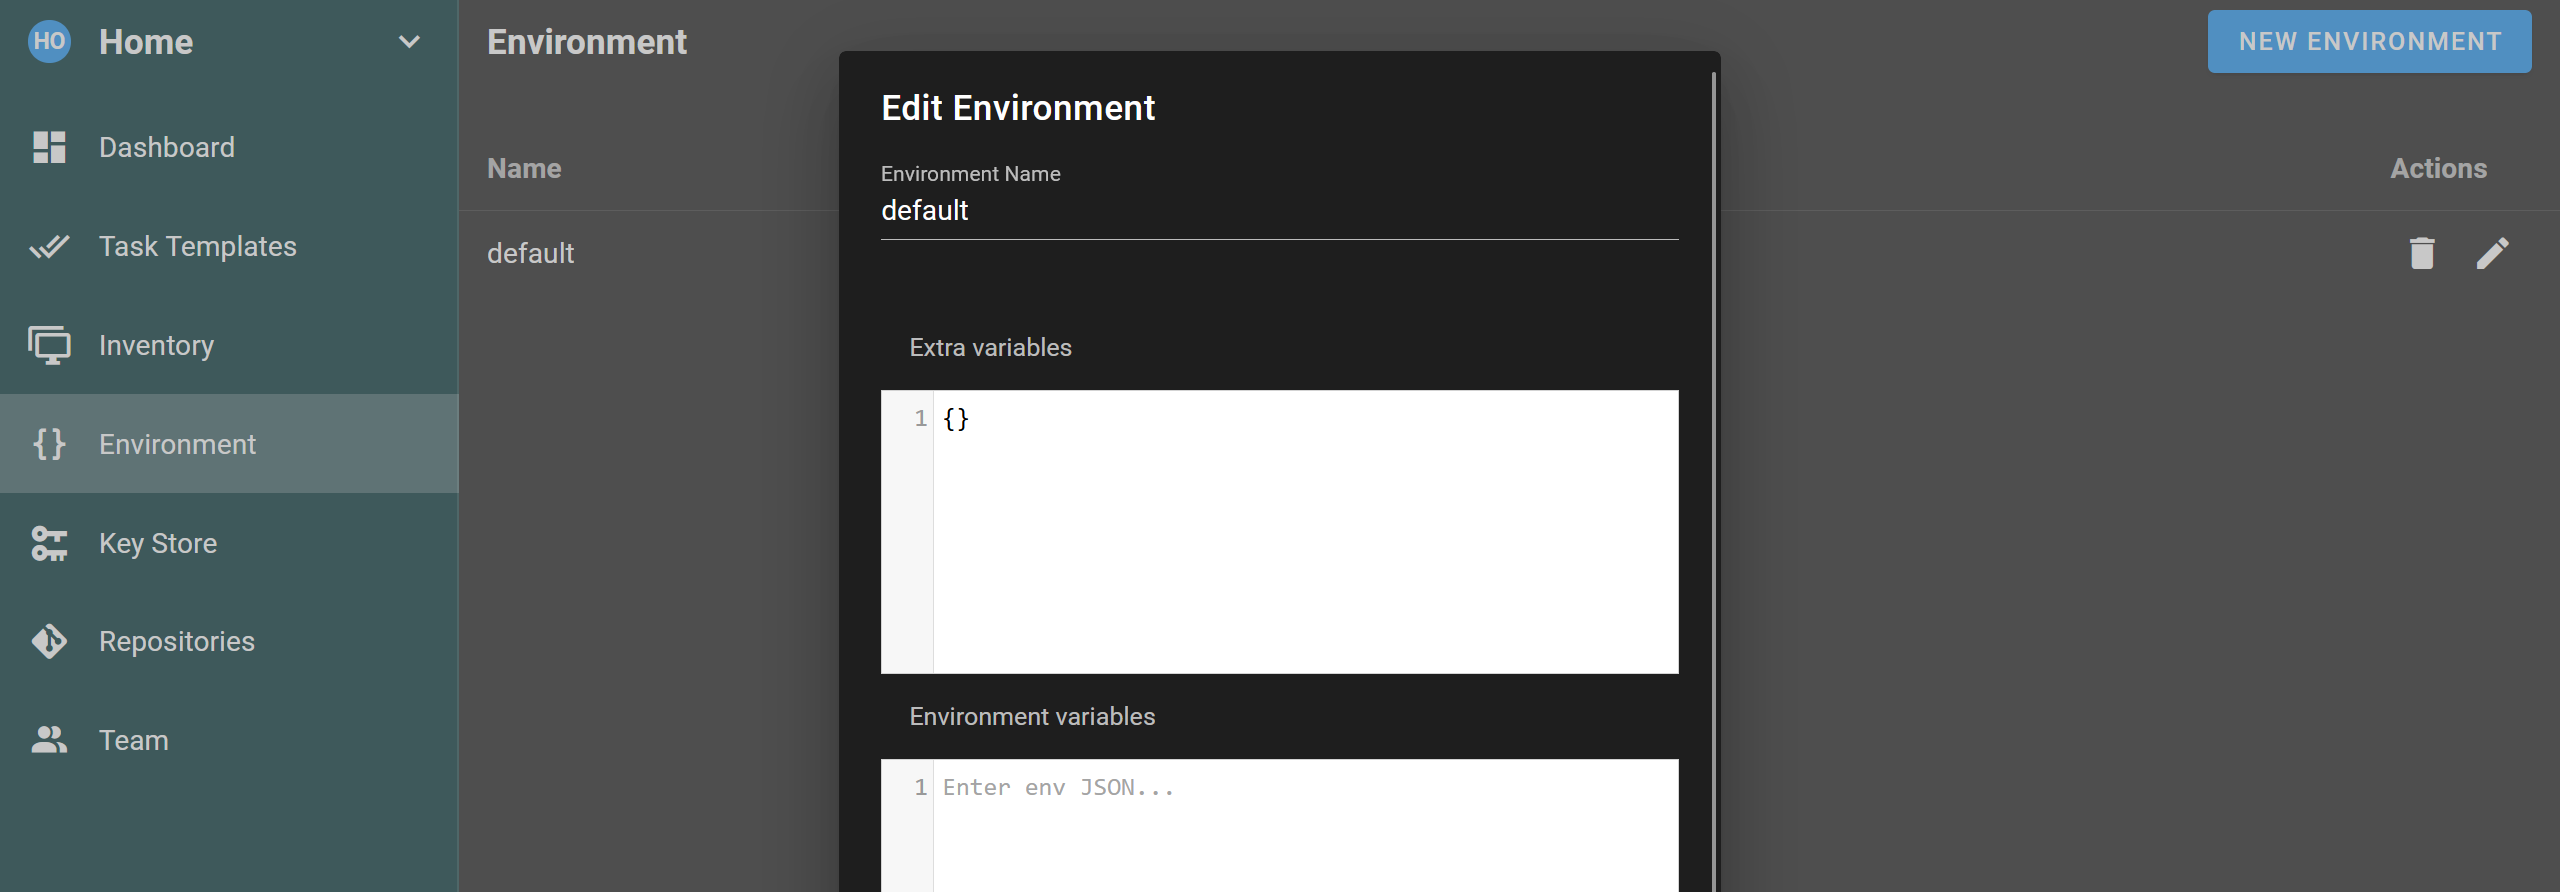
- Create an environment file:
- Under ‘Environment’, create a ‘New Environment’ named ‘default’.
- Leave the extra variables section as ‘{}’.
Now that we have the initial required configuration done, let’s set up our playbooks.
Semaphore Task Templates / Playbooks
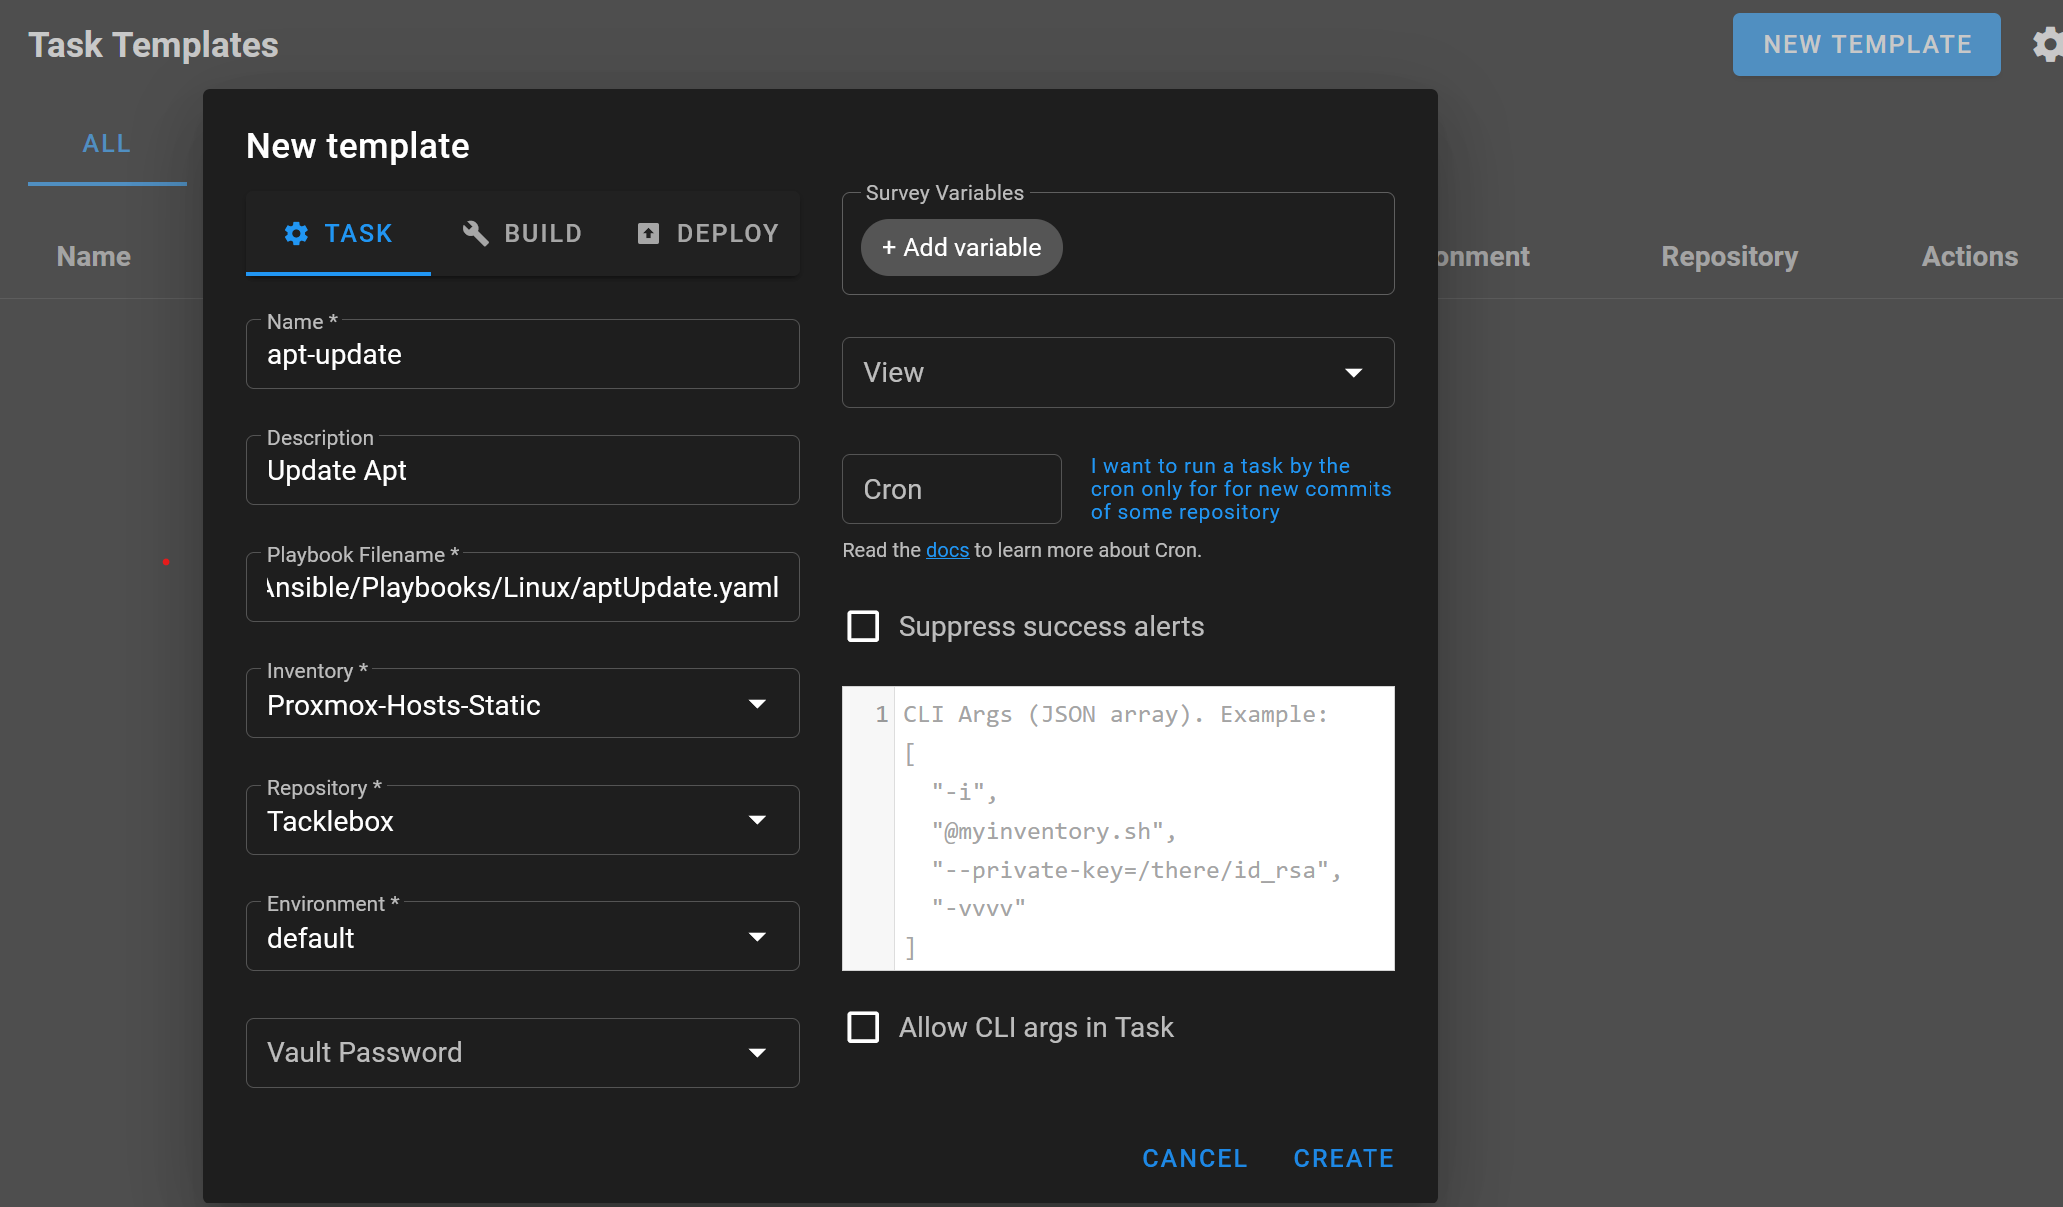
Navigate to the ‘Task Templates’ tab, and we will set up our first Task playbook.
- Create a ‘New Template’ and provide the following parameters. Leave the Template as a ‘Task’:
- Name:
<name> - Description:
<description> - Playbook Filename:
<file/location/within/repo> - Inventory:
<created-inv> - Repository:
<created-repo> - Environment:
<created-env>
- Name:
- Now that the playbook is created, navigate into it, and hit ‘Run’
- You can use different features while executing the task typically foundational of Ansible such as, ‘Debug’,‘Dry Run’, ‘Diff’, etc.

From here, you’re all set! Start automating your Ansible tasks with Semaphore.
Useful Resources
Here are some useful resources for further exploration: